Introduction
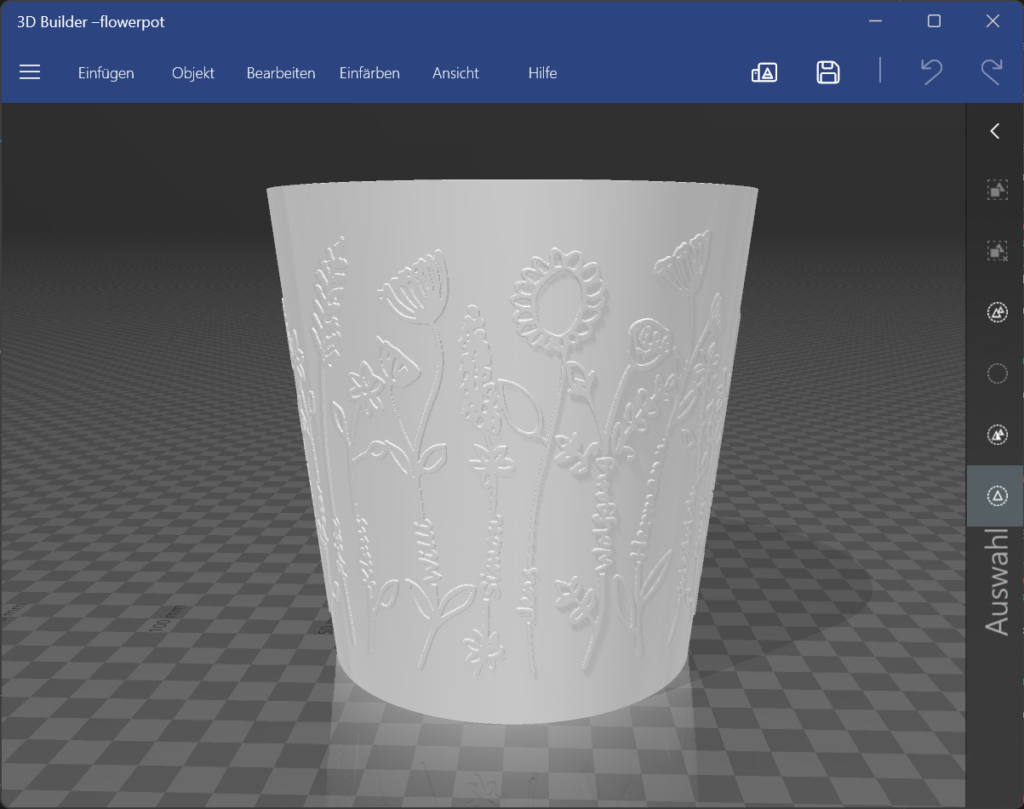
Personalized items often take a lot of time to be created. In my last 3D-printing project, I created a flower vase with 54 diffent names, which I had to insert into a similar image as the one above by hand. This time consuming process leads to increased costs for each product and therefore I asked myself, how I could improve this process to become more efficient.
It is obvious, that some kind of automation is needed to accelerate the input of the names and directly create the 3D-Design out of it. This core process will be in the focus of this blog post.
Automation Process
Scan the design, create SVG template with placeholder names

The first and most basic step was to create a svg from my drawing. A very convenient tool to work with SVGs (scalable vector graphics) is Inkscape. I removed the written names and replaced them by text placeholders as shown in the picture above.
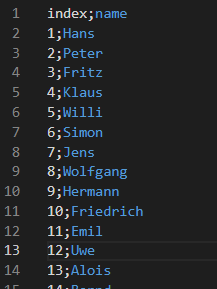
Create CSV with names to be inserted
But how do I optimally get the new names into my program? As the names are changing each time, I create a flower pot, they needed to be changed easily and be stored in a convenient format. Therefore I chose a tabular format and created a CSV (Comma Separated Values). This format has the advantage, that I can extend the content without any problems to adjust the program to my future needs.

Replace placeholder names with names from CSV
After preparing data and the template, we get into coding now.
- Import CSV with names
- Open template and copy it to new file
- Replace name by name
- Save changes in new svg-file
- Export image to png or jpg and invert colors.

Unexpectedly, to find the right python program to export the svg turned out to be very difficult. I tried serveral programs, but the exported image often was not resembling my svg perfectly. Thats why I finally have chosen to open Inkscape as a subprocess and use the included png-exporter.
In the foregoing steps, I always worked with black ink on white background for convenience. To generate the stl, however, I had to invert the final image to white ink on black background.


Adjust 3D Design and create STL
In Blender, we can now choose the exported flower design in jpg or png in the displace modifier of blender and safe the blender file.
To get the adjusted 3D file, I then just had to start blender directly from python and export the prepared flowerpot to STL (Stereolithografie).
Blender automatically takes over the changed displacement image!

Next steps
- Choose the number of flowers in the picture
- Match the names lengths with the best fitting flower
- Automatically adjust the size of the flower vase
- Add further designs to be adjusted by the code
- Create gcode for my 3D-Printer
For further details about my flower pot automation script, please refer to my GitHub repository here.

